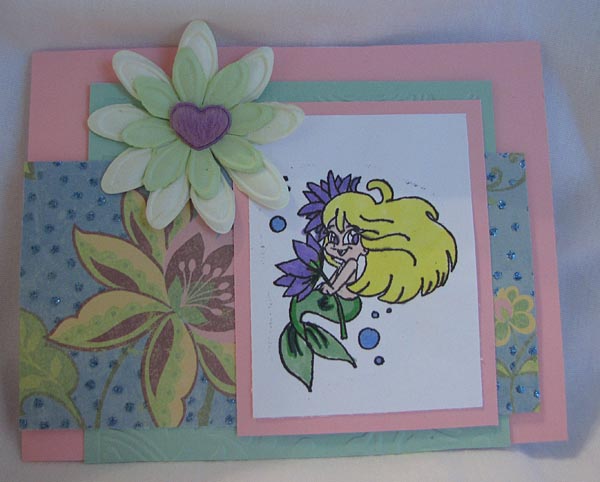
Supplies:
 black cardstock, 3 brads, adhesive, Versamark ink, Barn Door Distress Ink, soft cloth or towel, card base, and of course some stamps! I used a sentiment from Queen Kat Designs and a background stamp that will be released soon from QKD as well, Scissors, Black India Ink and an ink blending tool.
Directions:
1. Ink the background stamp with versamark ink. I used Champagne in VM ink. Next lay your stamp face up on your craft mat or work surface. Lay your glossy cardstock face down onto the stamp and gently rub all over it with your hands to transfer your ink onto your cardstock. Heat dry with your heat tool.
2. Using barn door ink and a blending tool, apply the ink onto your glossy cardstock. I find you get a much richer color if you use a blending tool and rub it into the cardstock vs. the pad to paper method because unless you press your ink pad into your paper and rub the heck out of it you will not acheive the bright colors. and this way you won't have to do layer after layer as if you were using the direct to paper technique. ps.. moral of the story, using an ink blending tool will save ink in your ink pad and you won't be rubbing it off of the paper onto a towel. :) That's the cheap-o in me! After you have inked it, gently rub the excess ink off with your towel to help the resist show through.
3. Mat the resisted background onto black cardstock and then adhere to the front of your card. Set aside.
4. Stamp the sentiment on white cardstock with black india ink and using your ink blending tool, color the cardstock with Barn Door ink. Cut right edge into a "v" and mat onto black cardstock, add brads and adhere to the card.
How simple was that?? Have a fabulous day!


 Supplies: black cardstock, 3 brads, adhesive, Versamark ink, Barn Door Distress Ink, soft cloth or towel, card base, and of course some stamps! I used a sentiment from Queen Kat Designs and a background stamp that will be released soon from QKD as well, Scissors, Black India Ink and an ink blending tool.